

A running toilet is not just a minor household annoyance; it is an active leak that is draining your wallet right now. A continuously running toilet can waste up to 200 gallons of water per day. That equates to 6,000 gallons a month, a staggering amount of waste that will no doubt show up as a shock on your next utility statement.
A running toilet wastes water—and your money—every minute it’s ignored. Immediate action is needed to stop the flow. Fortunately, you can often fix this issue without needing a full toolbox of expensive equipment.
In this guide, we will help you identify the specific causes of a running toilet, troubleshoot the internal mechanisms of your toilet tank, and secure your plumbing system before the damage worsens.
3 Signs Your Toilet Is Running
While some leaks are loud and obvious, others are silent killers of your water efficiency. You need to be able to identify the symptoms immediately to stop the waste.
1. The Sound(s) It’s Making
There are two primary auditory signals that your toilet’s fill valve may be failing. The first is a continuous hissing sound from the bathroom, which indicates the valve is having difficulty shutting off after a flush.
The second is “ghost flushing.” This is a spontaneous, short refilling noise. This cycling suggests that water is slowly escaping the tank, forcing the system to repeatedly refill and maintain the correct water level.
2. Bowl Ripples
If your bathroom is quiet and you cannot hear the leak, look at the toilet bowl itself. The water should be perfectly still. If you see constant ripples, disturbances, or a steady stream of water flowing down the sides of the bowl, the seal inside the tank has failed. This visual cue is a definitive sign that fresh water from your water supply is bypassing the flush mechanism and being wasted.
3. High Bill
Often, a running toilet goes unnoticed until the financial damage is done. If your water bill has spiked significantly despite no change in your household usage, a running toilet is the number one suspect. A single faulty flapper or stuck handle can double a monthly water bill if left unchecked.
Related Article: How to Keep Your Utility Bills Low Year-Round

Most Common Causes of a Running Toilet
Understanding the inner workings of the toilet tank is essential for any repair. While the mechanism is straightforward, the failure of a single component can cause the entire system to malfunction.
The Flapper
The flapper is a rubber seal located at the very bottom of the tank. It lifts to release water when you flush and drops down to seal the drain hole afterward. Because it is constantly submerged in water, the rubber eventually degrades, warps, or accumulates mineral deposits. When this happens, it cannot form a watertight seal, allowing water to leak continuously into the bowl.
The Chain
The lift chain connects the flush handle arm to the flapper. If the chain is too tight, it holds the flapper slightly open, preventing it from sealing. If the chain is too loose, it can get caught under the flapper as it drops. Both scenarios result in a running toilet.
The Fill Valve
The fill valve is the engine of your toilet’s refill process. It connects to the water supply line and controls the flow of water into the tank. If the valve is clogged with debris or the internal seal is broken, it will fail to shut off the water once the tank is full, causing a continuous hiss.
The Float
Your toilet tracks the water level using a float. Older toilets use a float arm (a plastic ball on a metal rod), while newer models use a float cup (a cylinder that slides up and down the fill valve shaft). If the float is set too high, the water rises above the overflow tube, and the fill valve never gets the signal to shut off.
The Overflow Tube
This is the open tube in the center of the tank. Its purpose is to prevent the tank from overflowing onto your bathroom floor. If water is constantly spilling into the overflow tube, it means the water level is set too high, or the fill valve is defective.
Quick Checks a Homeowner Can Do (Non-Technical, Safe)
Feel free to skip this if you don’t feel comfortable. But if you want to see if you can find the problem before calling a professional, here’s what to do.
Before attempting a repair, perform a few safe diagnostics.
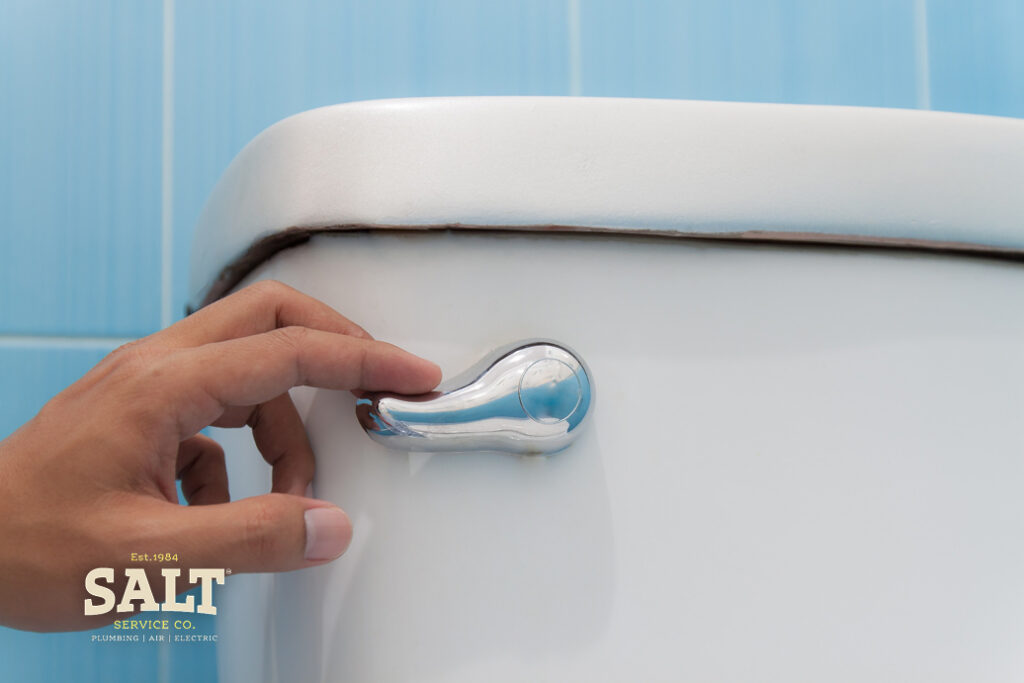
First, try the “Jiggle Test.” If the running water stops after you jiggle the flush handle, the issue is likely a caught chain or a misaligned flapper.
Next, remove the tank lid carefully. Inspect the interior without tools. Is the water flowing over the top of the overflow tube? If so, the float is set too high. If the water is below the top of the tube but the tank is still running, the leak is coming from the flapper at the bottom.
You can also perform a “Dye Test“ by dropping a few drops of food coloring into the tank. If the color appears in the toilet bowl without flushing, you have confirmed a flapper leak.
How to Stop a Running Toilet: Our Step-by-Step, DIY Guide
If the quick checks reveal a mechanical issue, follow this guide. These steps cover the most common repairs involving the flapper, float, and fill valve.
Step 1: Secure The Area And Water Supply
Safety and preparation are paramount. Locate the shut-off valve on the wall or floor behind the toilet. Turn it clockwise (to the right) to cut off the water supply. Flush the toilet to drain the tank. Hold the handle down to remove as much water as possible. Use a sponge or towel to soak up the remaining water at the bottom of the tank so you can work in a dry environment.
Step 2: Adjust The Chain Tension
Inspect the chain connecting the handle to the flapper. There should be a small amount of slack, about half an inch. If the chain is taut, move the clip down a few links to loosen it. If it is too loose and bunching up, tighten it. Make sure the chain hangs straight and does not interfere with the flush valve assembly.
Step 3: Inspect And Replace The Flapper
Unhook the ears of the old flapper from the base of the overflow tube and disconnect the chain. Inspect the bottom of the flapper. If the rubber is hard, cracked, or slimy, it must be replaced. Take the old unit to the hardware store to ensure you buy the correct replacement. Install the new flapper, reconnect the chain, and ensure it creates a solid seal over the flush valve opening.
Step 4: Adjust The Water Level And Float
If the flapper is sealing correctly but water flows into the overflow tube, you must adjust the float.
- Float Arm: Locate the adjustment screw where the arm meets the fill valve. Use a screwdriver to turn it clockwise to lower the water level.
- Float Cup: Locate the adjustment clip or screw on the side of the float cup. Pinch the clip or turn the screw to slide the float down the shaft.
Turn the water back on to test. The water level should settle about one inch below the top of the overflow tube.
Related Article: How to Turn Off the Water to Your Toilet
Step 5: Assess The Fill Valve
If you have adjusted the float and replaced the flapper, but the toilet still runs, the fill valve may be faulty. To replace it, you will need to unscrew the coupling nut on the supply line under the tank (place a bucket underneath to catch drips). Remove the old valve and install the new unit, ensuring it is adjusted to the correct height. Hand-tighten the nut and reconnect the supply line.
When a Running Toilet Becomes Urgent
Do not mistake a running toilet for a passive problem. It can quickly escalate into an emergency. If the fill valve fails completely, the full pressure of your home’s water supply flows into the tank. If the overflow tube cannot drain the water fast enough, the tank will overflow, flooding your bathroom with clean—but damaging—water.
When To Call A Professional
While many toilet repairs are DIY-friendly, some situations require the expertise of a professional plumber. If you have attempted the repairs above and the issue persists, the problem may lie in the porcelain casting, a cracked flush valve seat, or high water pressure affecting your entire home.
You should schedule professional service if:
- Persistent Leaks: You have replaced the flapper and fill valve, but the water continues to run.
- Base Leaks: Water is pooling around the base of the toilet where it meets the floor (wax ring failure).
- Stuck Valves: The main water shut-off valve is rusted, seized, or leaking.
- Supply Line Issues: You are unable to disconnect the supply line due to corrosion.
- Cracks: You notice hairline cracks in the tank or bowl.
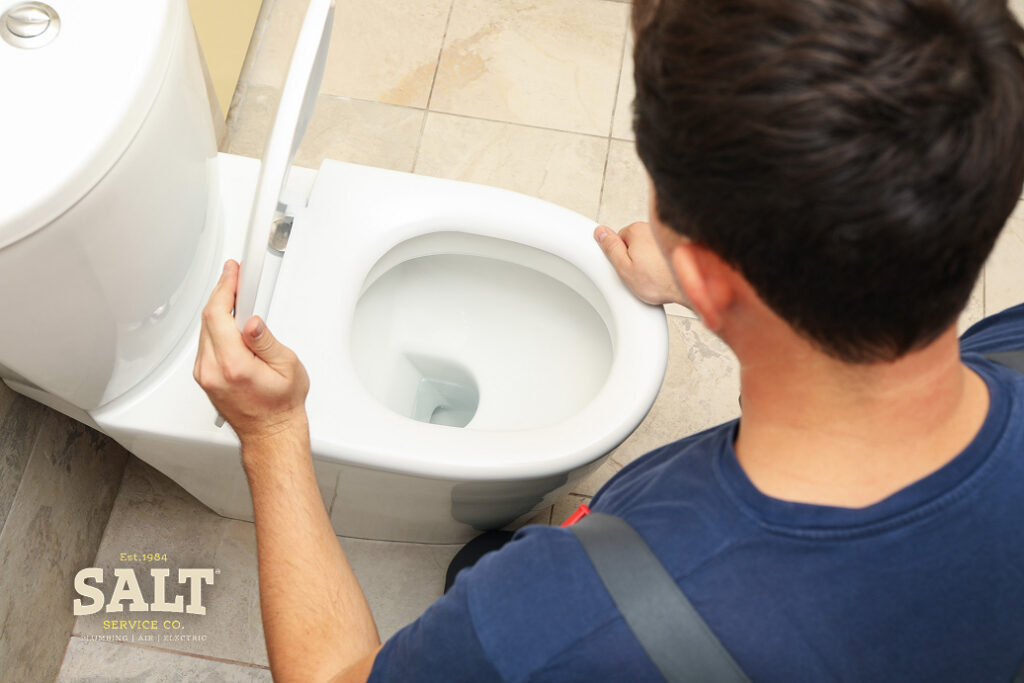
Schedule Your Toilet Repair Today!
Don’t let a running toilet drain your budget. This common issue needs quick attention to avoid costly water bills and potential damage.
If you find these repair steps too complicated or prefer a guaranteed fix, our professional team is ready to assist you.
Click here to schedule your plumbing repair and let the experts at SALT Service Co. restore silence and efficiency to your home today.